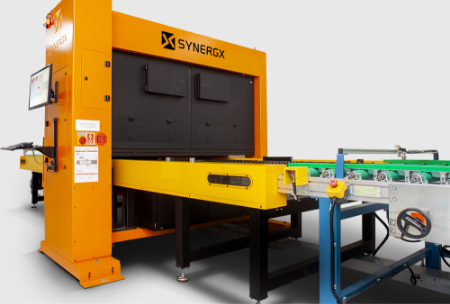
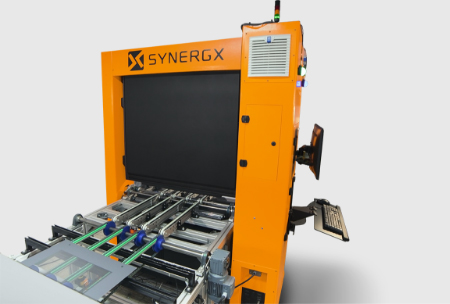
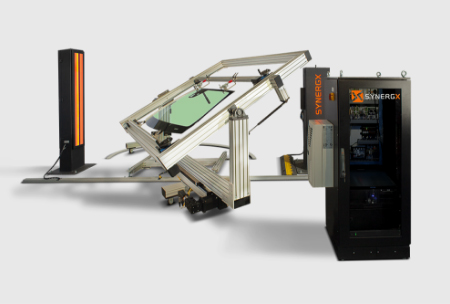
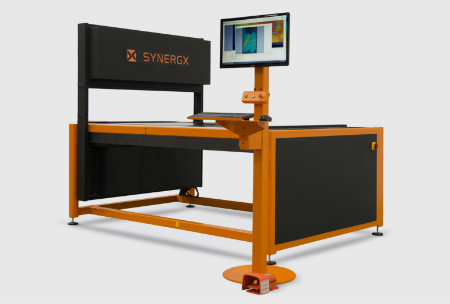
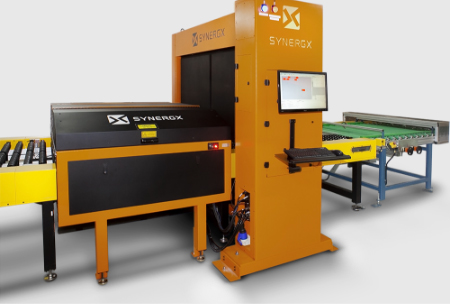
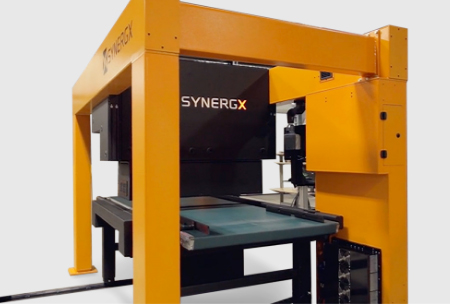
SYNERGX’s SURFX PAINT 2000 TOP REFLECT is an all-in-one flat glass inspection system for clear glass and black paint serigraphy, with additional capabilities for inspecting heat lines and antenna lines. Thanks to its reflective lighting, all heat lines and antenna lines printed on the glass and on the black serigraphy paint are made visible. Line continuity, line width, transition from glass to serigraphy and connection to busbars and connection points are thoroughly inspected. The system detects and reports any line discontinuity and width above and below user-configurable tolerances.
The SURFX PAINT 2000 TOP REFLECT is a member of the SURFX PAINT family of glass inspection systems that is part of the fully automated, zero-defect glass inspection solutions designed specifically for flat glass. All SYNERGX PAINT systems are designed to be installed inline in the production process, as part of the early production stage for quality assurance. They withstand full production speeds. While the PAINT systems are designed and can be used for a wide range of glass manufacturing applications, they are mainly used in the automotive manufacturing industry.
All PAINT systems inspect painted and non-painted glass surfaces. The glass can be of any shape and size, with light transmissivity from 5.6% to 92%. Paint elements such as paint bands, fade bands, heat/antenna lines, screen positions, printing borders, logos, and paint openings (including camera and VIN zones), can be inspected for defects. The TOP REFLECT system tops it off with heat lines and antenna lines inspection. Glass defects including broken glass, incorrect light transmissivity, inclusion, scratches, distortion, glass edge defects and hole edge defects are also detected and reported. Tolerances for each individual defect can be set to accommodate various quality requirements. A dual model mode enables the inspection of two different glass models within the same production run. The inspection results report a global pass/fail result and include a detailed inspection report of every defect with its classification, position, and size. The user interface allows the operator to zoom in on the results for a more accurate and detailed view.


